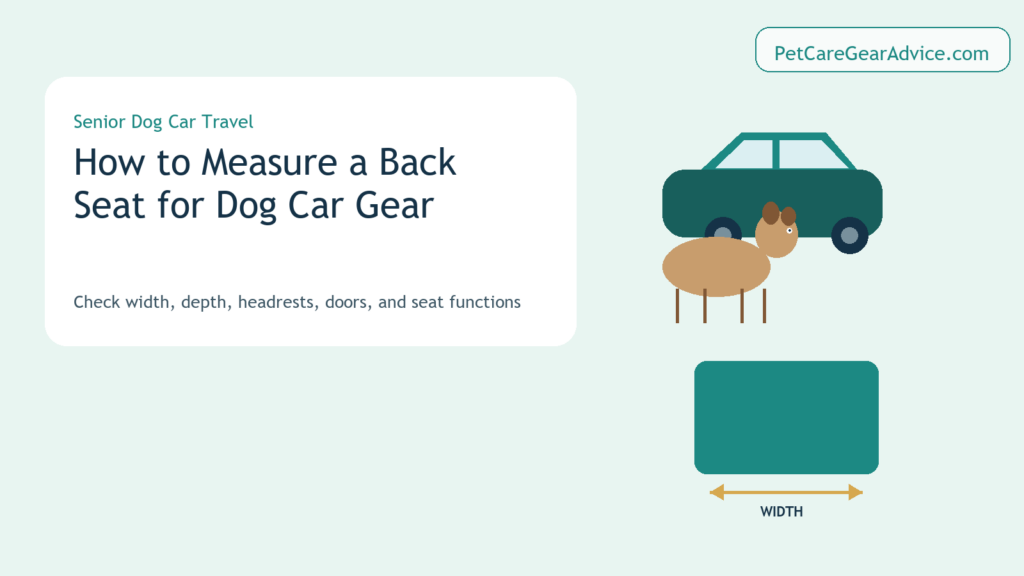
Measuring a back seat before buying dog car gear prevents most fit surprises. Product labels such as standard, large, universal, car, and SUV do not describe the shape of one specific vehicle. A useful measurement sheet records the bench, footwell, headrests, console, doors, seat splits, and the space needed for loading before you compare any cover, platform, or barrier.
Quick Measurement Checklist
| Measurement | Where to measure | Why it matters |
|---|---|---|
| Bench width | Usable seat surface from side to side | Cover or platform width |
| Bench depth | Seatback to front edge | Cover placement and resting surface |
| Footwell depth | Seat edge toward front seat | Extender panel depth |
| Opening height | Floor or seat to roof at target location | Tension barrier range |
| Headrest spacing | Post to post and seat to seat | Strap and panel mounting |
| Side gaps | Panel edge to door or pillar | Escape paths and coverage |
Tools to Bring Before Measuring
- A flexible measuring tape.
- A rigid ruler for narrow gaps.
- Phone photos of the empty rear seat and cargo area.
- A note showing the vehicle year, make, model, trim, and seat configuration.
- The product dimensions for the exact size variant, not a different listing option.
Step 1: Measure the Usable Bench Width
Measure the flat usable seat surface rather than the widest door-to-door distance. Record the width at the front edge and near the seatback because the bench may taper. Note raised bolsters, buckles, armrests, and door contours.
Step 2: Measure Bench and Footwell Depth Separately
Bench depth runs from the seatback to the front edge of the cushion. Footwell depth continues toward the back of the front seats. Keep those numbers separate. A seat cover mainly follows the bench, while a hard-bottom extender needs enough panel depth and suitable support over the footwell.
Step 3: Record Headrests and Mounting Points
Count the headrests and photograph their posts. Some products require exposed metal posts, while others use loops around the headrest. Record post spacing and whether the headrest can be removed. Do not attach anything to an airbag label, seat-belt path, or unsupported trim.
Step 4: Map Split Seats, Belts, LATCH Points, and Armrests
Write down the rear-seat split, such as 60/40, and identify which section must still fold. Mark factory belts, child-seat anchors, cup holders, and armrests that must remain available. A product can fit the width and still block a feature the household uses every day.
Step 5: Check Doors, Console, Vents, and Seat Travel
Open both rear doors fully and identify the dog’s loading side. Move the front seats through their normal range and measure again. Note a tall center console, rear vents, charging ports, and unusual door hinges. Gear should not cover an airbag, block a vent needed by passengers, or interfere with a door latch.
Step 6: Measure Barrier Openings Completely
For a barrier, measure width at more than one height because pillars and seats can taper. Measure floor-to-roof or seat-to-roof height for tension designs. Check lower, upper, and side gaps against the dog’s size. A central panel can fit while leaving an easy route beside a door.
Step 7: Plan the Loading Route
Leave enough clear space for the way the dog enters. If a dog ramp is already used, measure the landing area with the door open. If assisted movement is part of the routine, review the lifting harness guide while keeping the harness separate from any vehicle-restraint decision.
Measure the Dog’s Usable Resting Footprint
Vehicle measurements are only half of the fit check. Measure the approximate length and width the dog uses when lying comfortably on a familiar flat surface. Add modest room for changing position, then compare that footprint with the uninterrupted area the gear will provide after accounting for bolsters, raised edges, door contours, and any passenger space. Do not use this measurement to make a health or mobility promise; it simply helps rule out layouts that are obviously too cramped.
Do a Parked Dry Run Before the First Trip
Install the product while the vehicle is parked and unloaded. Move the front seats through their normal positions, open both rear doors, test any split-seat function, and confirm that vents, buckles, anchors, and the intended loading path remain available. Check that fabric lies flat and that rigid sections rest only on the support points described for the product.
Compare the exact product dimensions with your measurements and leave room for normal manufacturing and measuring variation. If the fit depends on stretching every strap to its limit, forcing a panel against a console, or accepting an unsupported edge, choose another size or format. Photograph the successful setup so it is easier to reinstall consistently after cleaning or storage.
Record Sheet
- Vehicle year, make, model, and trim:
- Rear-seat configuration:
- Bench width at front / back:
- Bench depth:
- Footwell depth:
- Opening height:
- Headrest count and post spacing:
- Console width and height:
- Required belt, LATCH, armrest, and passenger access:
- Dog loading side and landing space:
Common Fit Mistakes
- Buying from a vehicle label instead of measurements.
- Reading dimensions for the wrong size variant.
- Ignoring the center console and seat travel.
- Assuming waterproof fabric covers every seam and opening.
- Treating a listed support limit as crash testing.
- Forgetting storage size when rigid panels are folded.
Frequently Asked Questions
How wide is a standard dog car seat cover?
There is no universal standard that fits every vehicle. Common product widths still need to be checked against the actual bench.
Should I measure with the front seats moved forward or back?
Measure through the full range normally used by the driver and front passenger so the gear does not depend on one unusual seat position.
Does a high product weight limit mean it is crash-tested?
No. A manufacturer-listed support figure does not establish collision or braking performance.
Related Senior Dog Guides
- Senior Dog Mobility Checklist
- Best Dog Ramps for Senior Dogs
- Best Lifting Harnesses for Senior Dogs
- Best Dog Gates for Older Dogs
- Best Non-Slip Rugs for Older Dogs
- Best Paw Washers for Older Dogs
Final Thoughts
A useful measurement sheet is more reliable than a universal-fit label. Record the bench, footwell, headrests, vehicle functions, and loading route, then compare those numbers with the exact product variant. If the geometry does not match, choose a different format rather than forcing the installation.